Rebuilding your C5
Posted: November 25th, 2007, 10:09 pm
Someone suggested I put this here for future use...
Well... here ya go!
I forgot to reset my ISO from the "night of fire" event. Doh!!!
Don't mine the very VERY grainy pics.
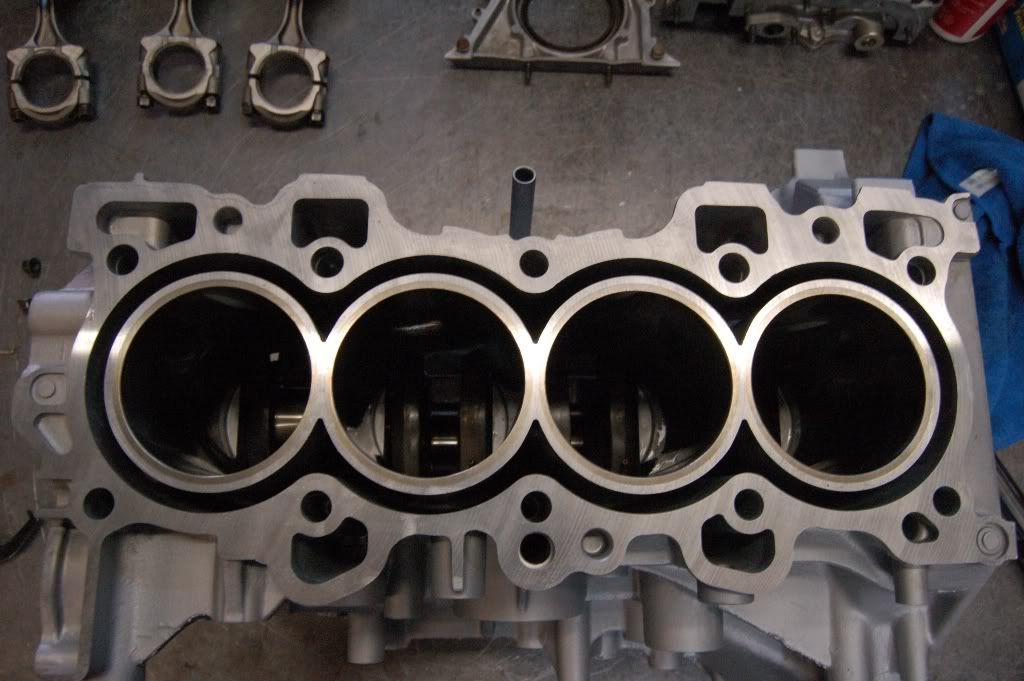
Here is the beginning of the day. Block back from machine shop, light hone job and cleaned and hot tanked. Nice and minty fresh job...
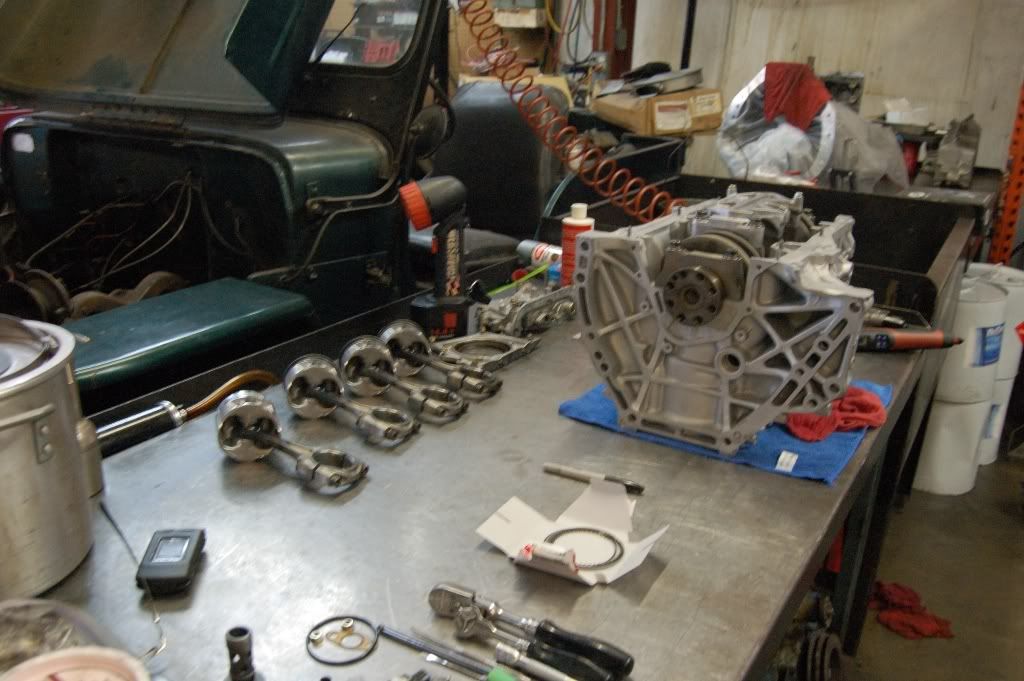
Rings are what seal your engine... sometimes a PITA to install. Oil ring first, then lower and upper oil ring. The top to grooves are fitted meaning the remaining 2 rings can only go one way. If you notice the sharpie marks on the piston... When you install the oil ring, never put it on the side with the wrist pin. Always do the other sides. Oil ring first and use the small oil holes as a guide. From there, the lower and upper each go to one side, with about 3 "humps" distance from where the oil ring meets itself. The other 2 marks on the top of the pistons are for the compression rings. Same idea here, don't line up any rings with another one.
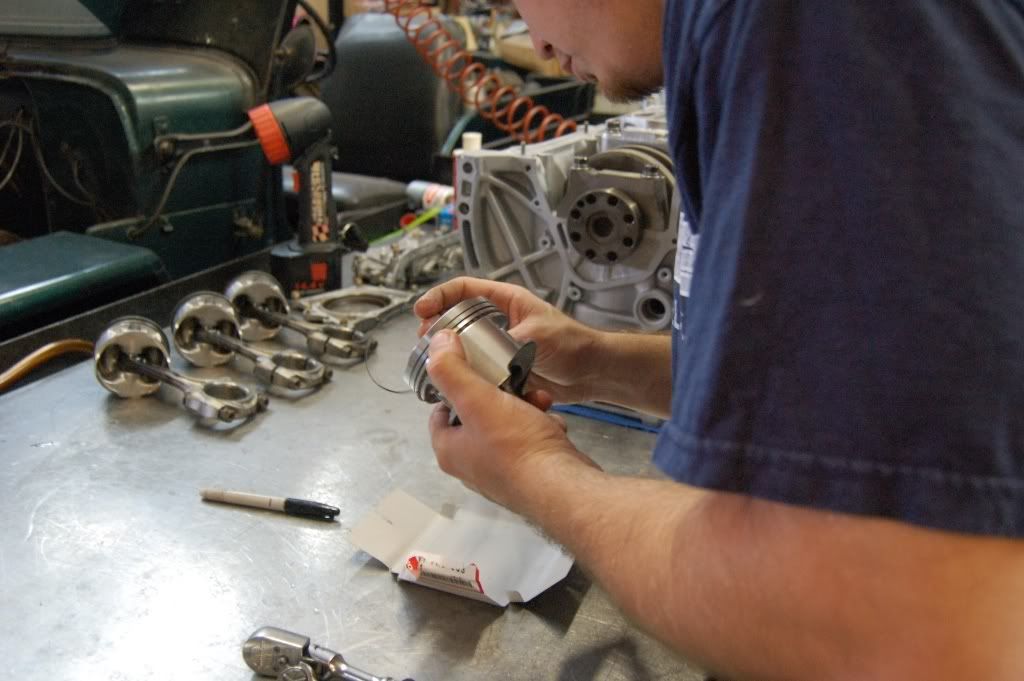
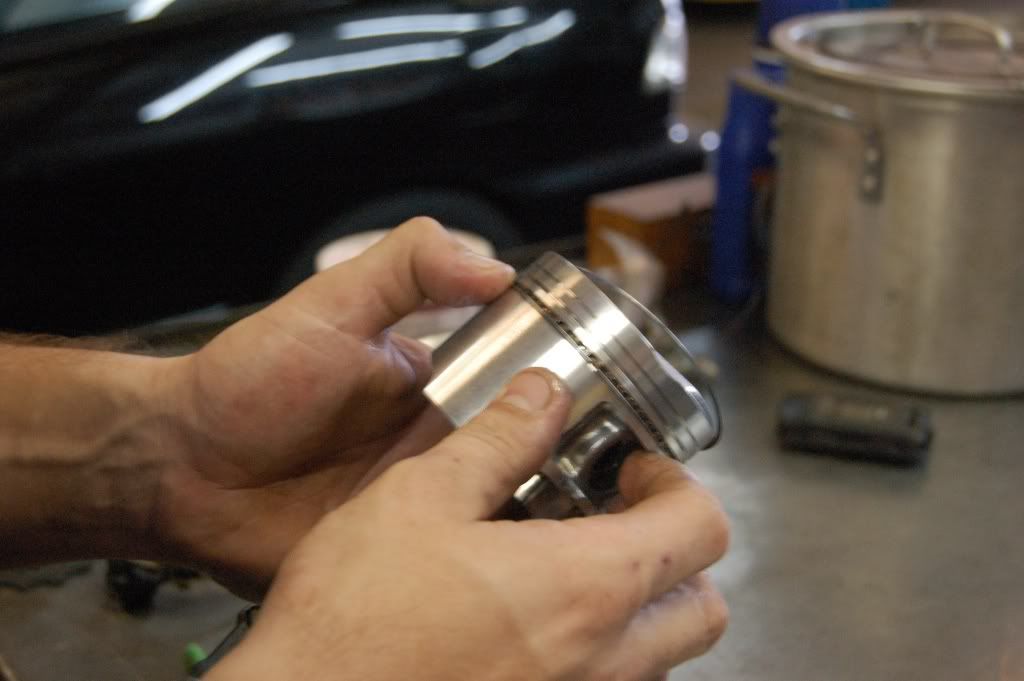
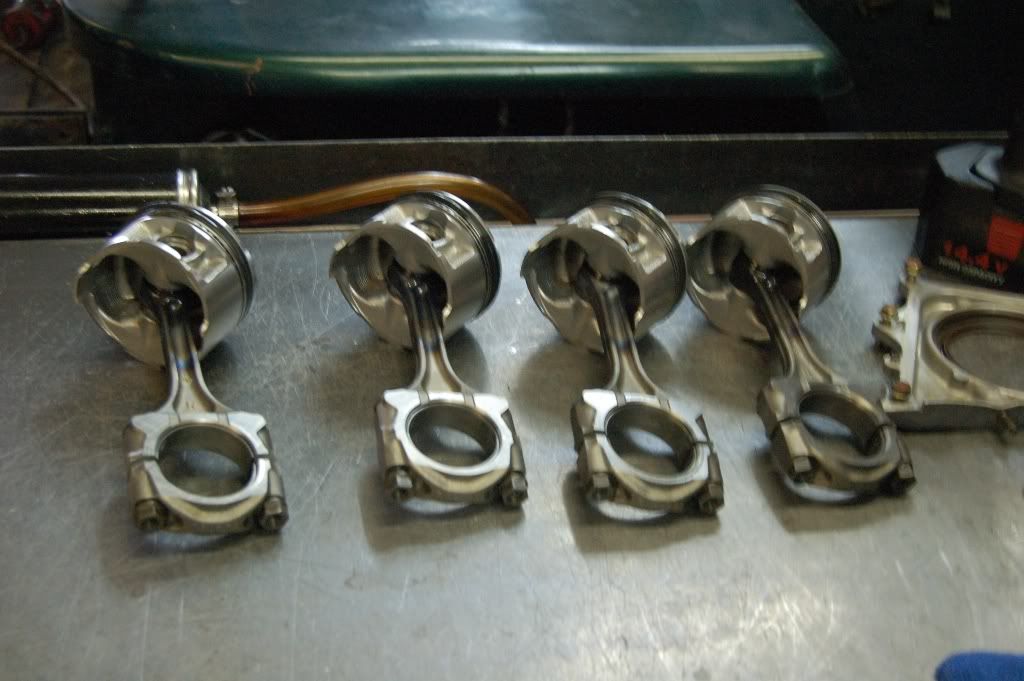
Once your rings are installed on the pistons, you need to prep the block. Grab your helms, or in our case AllData PC system. Get your torque specs/sequence out. Install bearings on the block first making sure to put some assembly lube on them (they only go one way with a "dip" on one side) DON'T FORGET THE THRUST WASHER!!! I've seen a few B-series engines with NO thrust washer installed. INSTALL IT!!!! Now that you have your manual and all that jazz, lay the crankshaft in place and spin it a bit. This will coat the crank journals where the bearings sit. Now that your crank is in place and spins correctly, you install the caps. Personally, I leave the connecting rod brace on when I complete this step. When your done it should look like this...
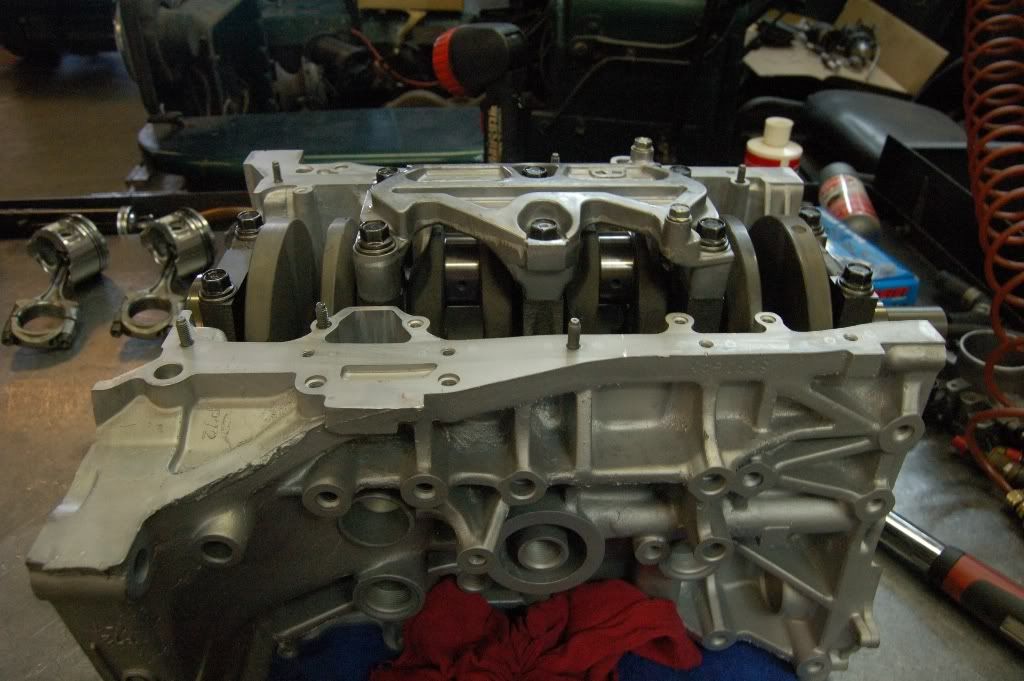
Here's a view down the cylinders.
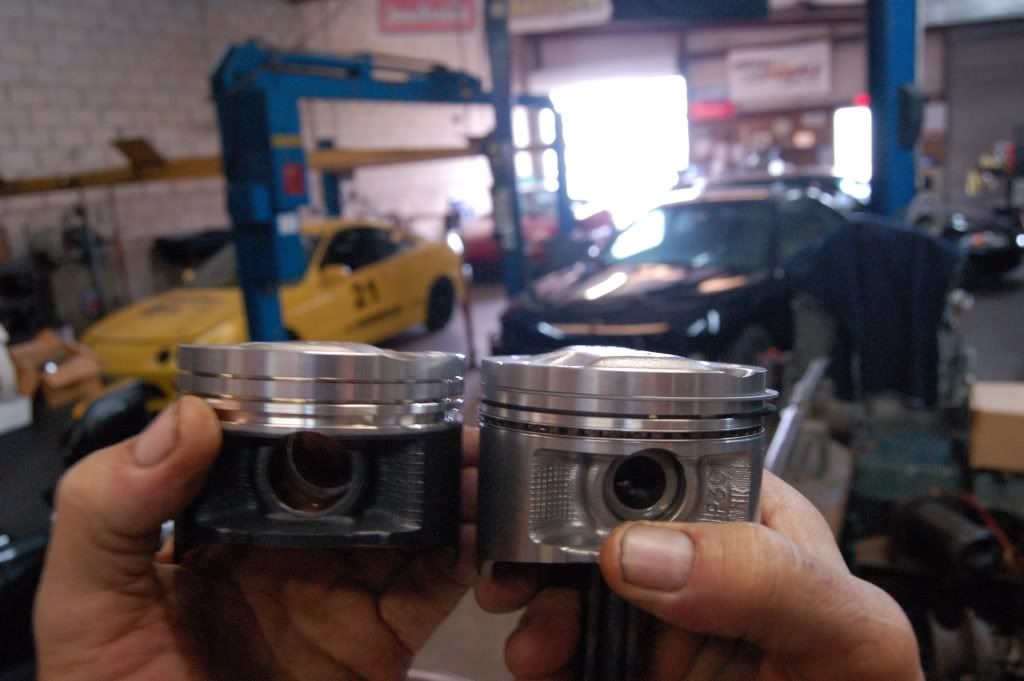
Getting ready to install the pistons, I wanted to compare new ITR to new P30 pistons and look at the domes... seems the P30 should gain a bit more CR.
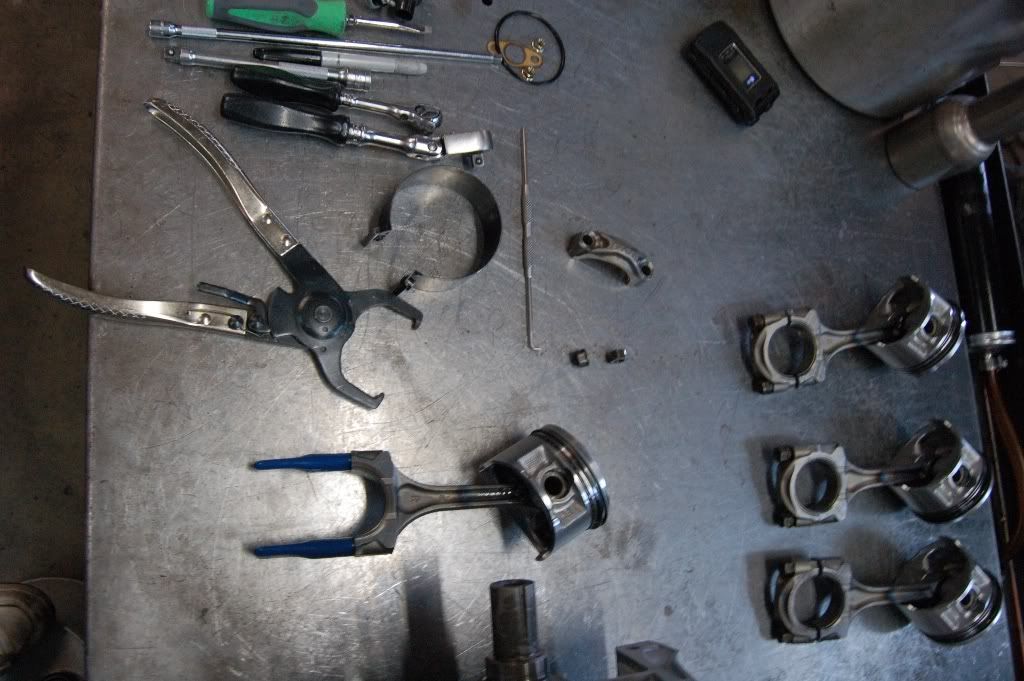
So now comes the piston install process. Some may have wondered how in the hell you get pistons to go in that bore with the rings protuding past the side of the piston. Simple, make sure you have the right tools.
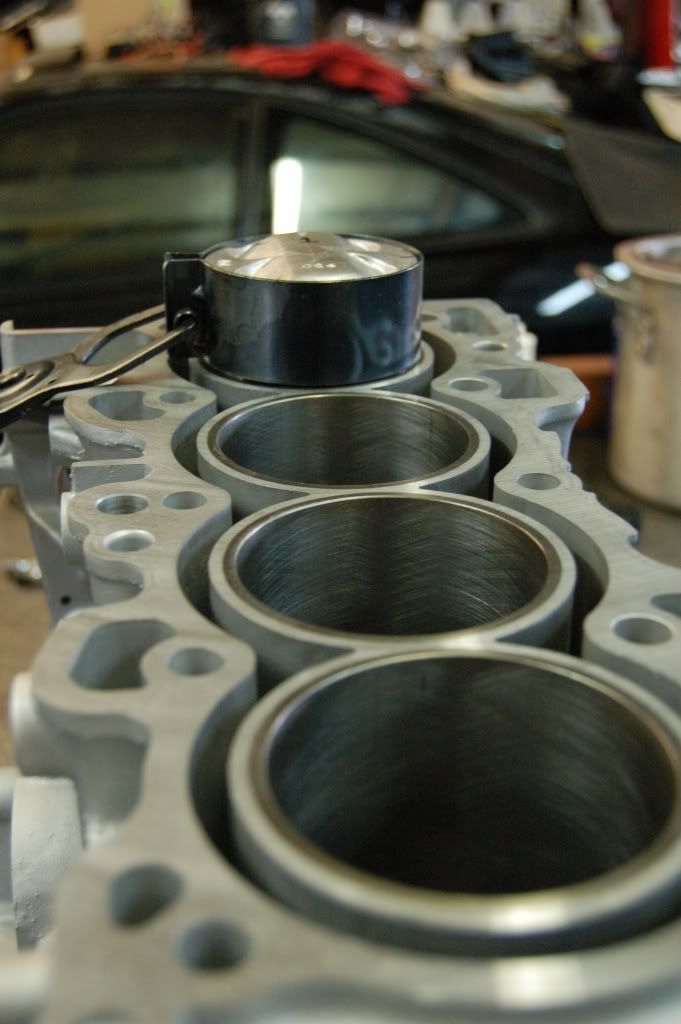
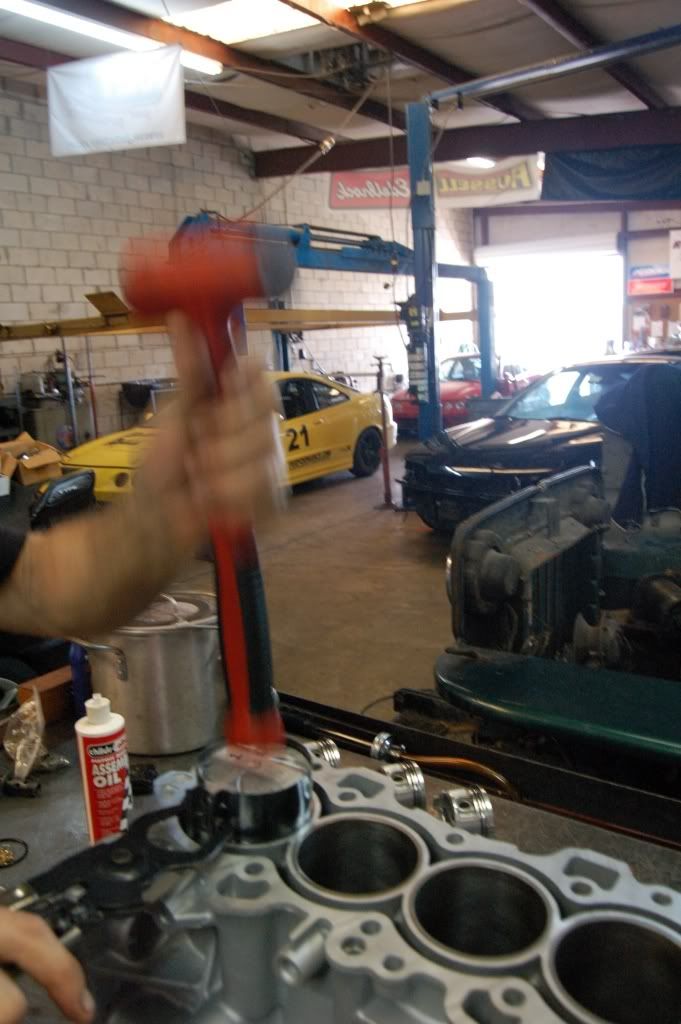
And alas... the piston is in there.
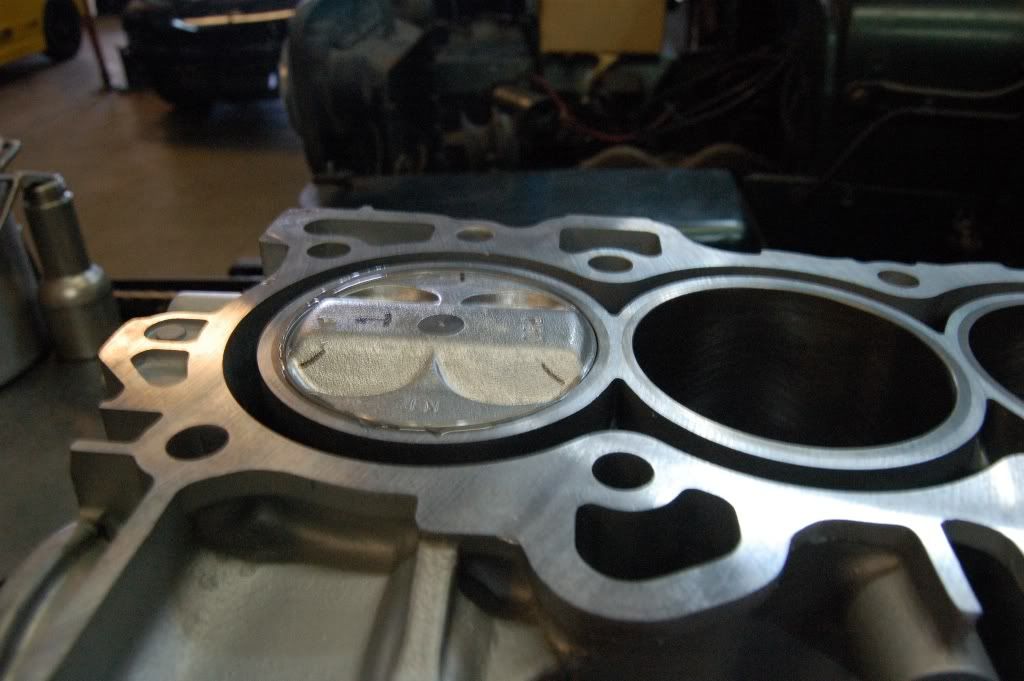
Come to the crank side of the block, make sure the "dips" in the bearing are on the same side, then install and torque the rod in place. (try to use something as shown to cover the studs on the rod. This minimizes chances of cylinder wall damage. Also, when torqued in place rotate the crank shaft to make sure nothing binds. Do this step after you install each piston)
Pretty soon you'll have a motor that looks like this once all are installed.
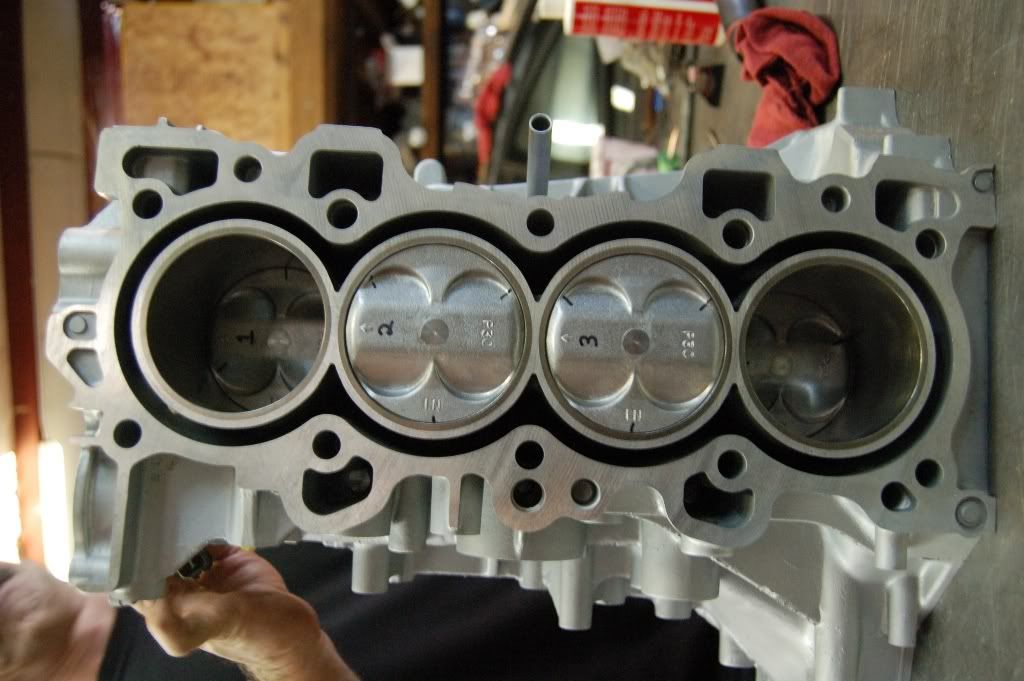
Flip the bish over and work on the other side now. Buttoning up the bottom here...
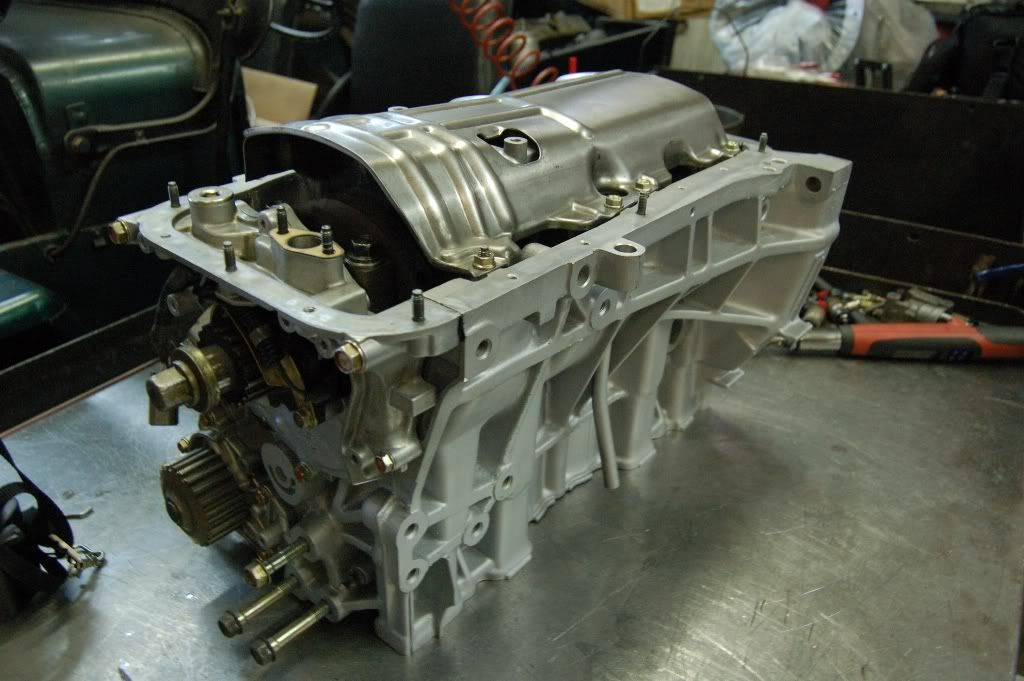
I like to put back as much as I can onto the block before installing it. Makes putting the whole thing back in MUCH easier!
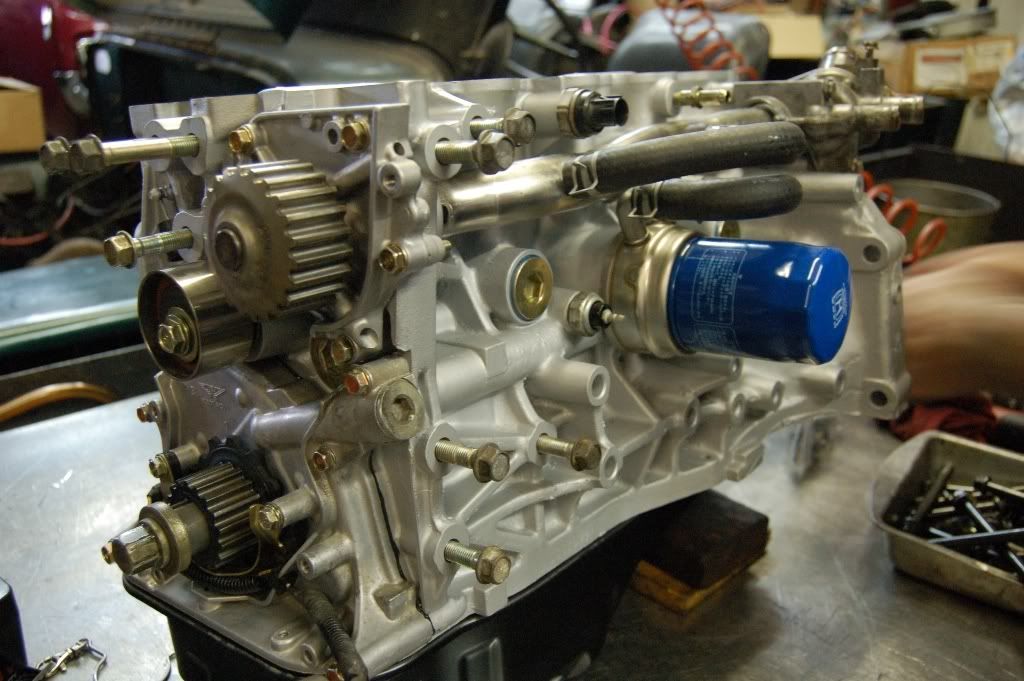
And here she sat at the end of the day. Rotating assembly installed, oil pan on (barely, still waiting on a pan gasket but at least no dirt will get in there) Now just waiting on the head to get back from the machine shop.
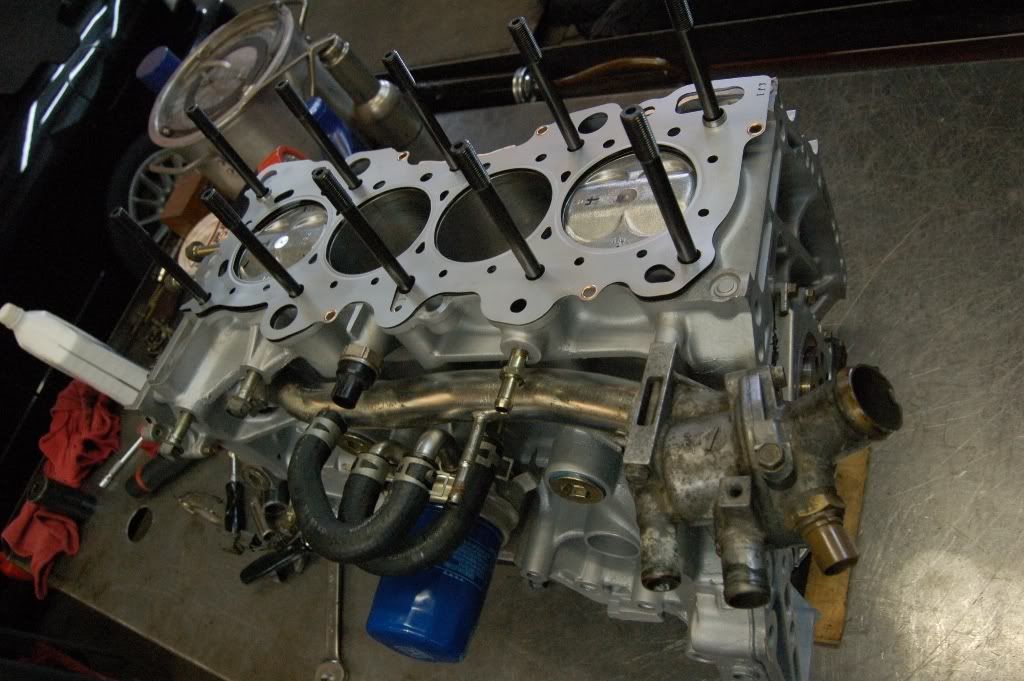
I should have more pics soon. Once the head is here I'll finish her up. Car should be running next weekend.
Well... here ya go!
I forgot to reset my ISO from the "night of fire" event. Doh!!!
Don't mine the very VERY grainy pics.
Here is the beginning of the day. Block back from machine shop, light hone job and cleaned and hot tanked. Nice and minty fresh job...

Rings are what seal your engine... sometimes a PITA to install. Oil ring first, then lower and upper oil ring. The top to grooves are fitted meaning the remaining 2 rings can only go one way. If you notice the sharpie marks on the piston... When you install the oil ring, never put it on the side with the wrist pin. Always do the other sides. Oil ring first and use the small oil holes as a guide. From there, the lower and upper each go to one side, with about 3 "humps" distance from where the oil ring meets itself. The other 2 marks on the top of the pistons are for the compression rings. Same idea here, don't line up any rings with another one.


Once your rings are installed on the pistons, you need to prep the block. Grab your helms, or in our case AllData PC system. Get your torque specs/sequence out. Install bearings on the block first making sure to put some assembly lube on them (they only go one way with a "dip" on one side) DON'T FORGET THE THRUST WASHER!!! I've seen a few B-series engines with NO thrust washer installed. INSTALL IT!!!! Now that you have your manual and all that jazz, lay the crankshaft in place and spin it a bit. This will coat the crank journals where the bearings sit. Now that your crank is in place and spins correctly, you install the caps. Personally, I leave the connecting rod brace on when I complete this step. When your done it should look like this...

Here's a view down the cylinders.

Getting ready to install the pistons, I wanted to compare new ITR to new P30 pistons and look at the domes... seems the P30 should gain a bit more CR.

So now comes the piston install process. Some may have wondered how in the hell you get pistons to go in that bore with the rings protuding past the side of the piston. Simple, make sure you have the right tools.


And alas... the piston is in there.

Come to the crank side of the block, make sure the "dips" in the bearing are on the same side, then install and torque the rod in place. (try to use something as shown to cover the studs on the rod. This minimizes chances of cylinder wall damage. Also, when torqued in place rotate the crank shaft to make sure nothing binds. Do this step after you install each piston)
Pretty soon you'll have a motor that looks like this once all are installed.

Flip the bish over and work on the other side now. Buttoning up the bottom here...

I like to put back as much as I can onto the block before installing it. Makes putting the whole thing back in MUCH easier!

And here she sat at the end of the day. Rotating assembly installed, oil pan on (barely, still waiting on a pan gasket but at least no dirt will get in there) Now just waiting on the head to get back from the machine shop.

I should have more pics soon. Once the head is here I'll finish her up. Car should be running next weekend.